Today in the studio, we’re covering one of the most satisfying parts of the ceramic process: trimming your pots.
Whether you’re brand new to clay or just need a refresher, trimming is all about refining your form, creating a foot, and matching the outside shape to the inside curve of your piece. Here’s a simple walkthrough of how we approach trimming bowls at The Artist Outpost.
1. Check the Clay: The Leather-Hard Sweet Spot
Before anything else, take a moment to feel your piece.
Trimming works best at the leather-hard stage — firm, cool to the touch, and holding its shape, but not bone-dry or mushy.
- Too soft? Your tool will dig in instead of slicing cleanly.
- Too dry? Trimming becomes chattery and difficult.
Finding the sweet spot makes everything smoother.
Tools Needed for Trimming
Before you begin, make sure you have:
- Trimming tools (loop or Japanese-style tools)
- Needle tool
- Sponge
- Small amount of fresh clay
- Bat or wheel head
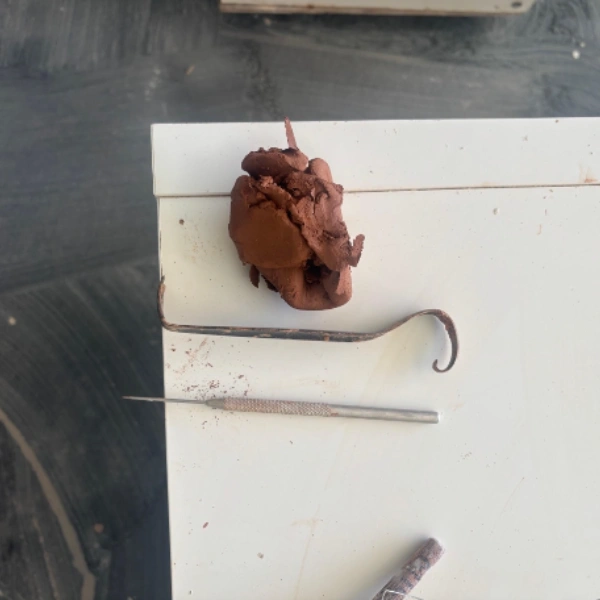
2. Grab a Small Ball of Fresh Clay (“Keys”)
Pick up a small amount of fresh clay that matches the color of your piece. This will become your keys — small balls of clay that secure your upside-down bowl to the wheel so it doesn’t fly off while trimming.
There are other ways to secure a piece for trimming, such as:
- Lightly suctioning the piece to the wheel head with water
- Using trimming attachments like Griffin Grips, which are especially helpful in production pottery settings
Keys are simple, effective, and great for beginners.
3. Why Bowls Often Have Extra Clay at the Bottom
When throwing bowls, we intentionally leave extra clay at the base for stability. This is completely normal.
Trimming is where you shave away that excess to create a smooth, clean foot that reflects the inside curve of the bowl.
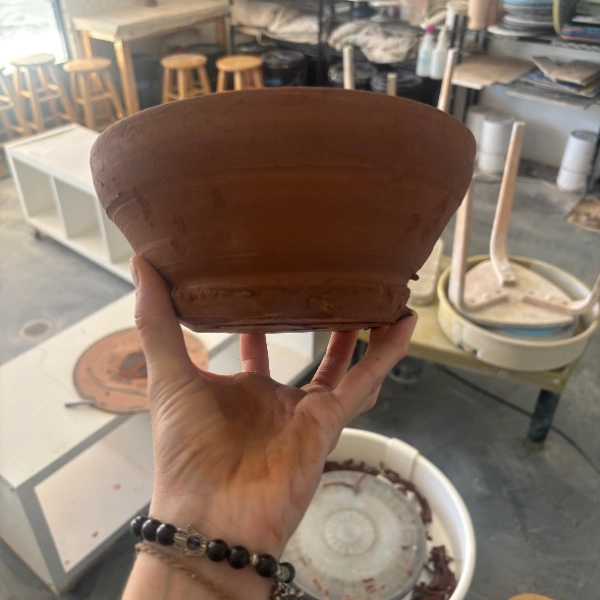
A good rule of thumb:
The outside should echo the inside.
You don’t need to perfect the exterior shape while throwing — trimming takes care of that later.
4. Check the Thickness of Your Base
Before trimming, use a needle tool to gently check how much clay you have at the bottom.
You want enough thickness to carve out a foot without punching through — unless you’re intentionally aiming for a flowerpot look.
Accidentally trimming too far is a very common beginner mistake, so don’t stress. It’s part of the learning curve.
5. Centering the Bowl (Upside Down)
Place your bowl upside down on the wheel.
Center it first by eye, then:
- Hold your needle tool lightly against the side as the wheel spins
- The line it draws will show where the piece is off-center
- Gently nudge the thickest side toward the middle
- Repeat until the line is even all the way around
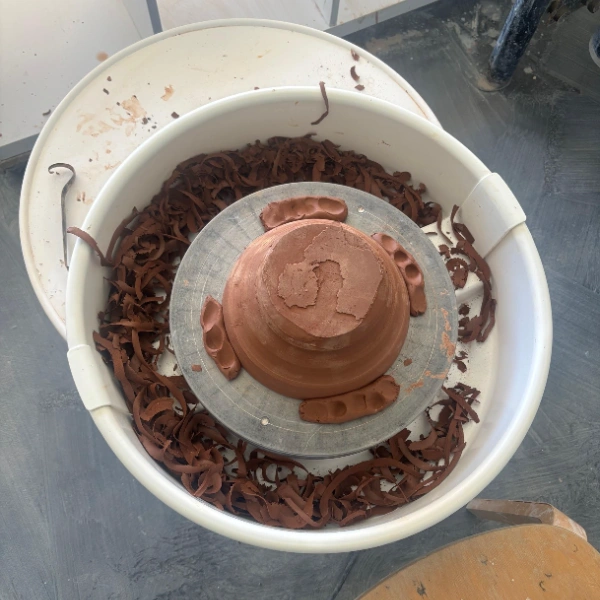
Once centered, secure the bowl with your clay keys.
6. Marking and Shaping the Foot
Use your needle tool to mark a small circle where the inner part of the foot will be. Then mark a larger circle outside it to define the foot’s width.
Some helpful notes:
- A ½-inch foot is common and offers good stability
- Foot width can vary depending on the form and personal style
7. Start Trimming
Using your trimming tool (we love traditional Japanese-style tools), begin shaving away excess clay from the outside.
Tips for good results:
- Hold your tool like a pencil — firm and steady
- Match the outside curve to the inside form
- If the clay feels too dry, lightly sponge it
- Pro tip: it’s usually better to wait for the right stage than to rehydrate
Trim the outer curve first, then use the thinner part of your tool to clean out the center of the foot ring. The depth of the inner circle should coordinate with the height of the foot for balanced proportions.
8. Clean Up and Admire Your Work
Once you’re happy with the shape:
- Remove your clay keys
- Smooth the foot with a sponge or metal rib
- Assess how your piece looks — you can always trim more if you’re not happy with the first attempt
Final Thoughts
Trimming can feel intimidating at first, but with patience and practice, it becomes one of the most relaxing parts of ceramics. It’s where your piece really starts to show its personality.
At The Artist Outpost, we love guiding students through this stage and helping them discover how transformative a good trim can be.
If you’d like to learn this technique hands-on, join us for open studio time or one of our upcoming wheel-throwing classes — we’d love to have you on the wheel with us.