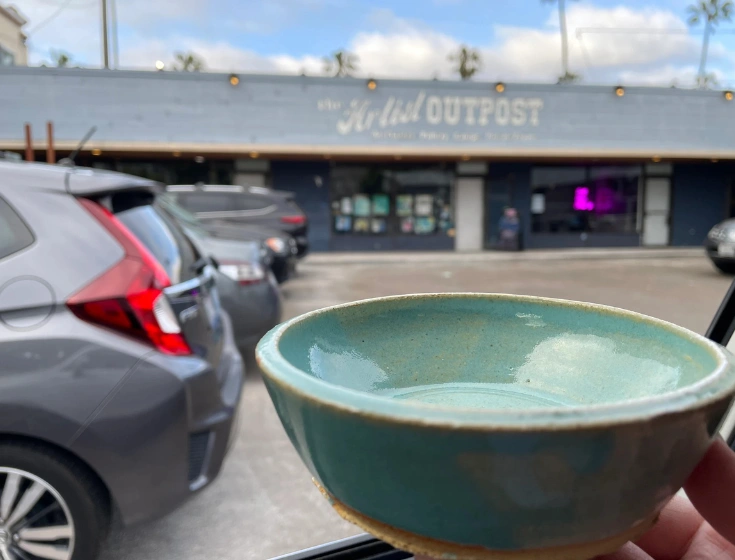
Hello all! My name is Corin, and I’m coming at you from The Artist Outpost in the one and only Ocean Beach, San Diego — where the salty air mixes perfectly with the scent of clay and creativity.
Today, I’ve got the very satisfying task of loading our bisque kiln for the five-week pottery class series we host here often. For anyone new to ceramics, this is one of the most exciting (and delicate) parts of the pottery process — it’s where all that soft, fragile clay you’ve been shaping finally starts becoming something solid and lasting.
What Is a Bisque Firing?
In the world of ceramics, there are a few key stages of firing that transform clay into pottery. The first is the bisque firing, which typically reaches around 1,828°F (Cone 06). This firing removes all remaining moisture and organic material from the clay and hardens it just enough to handle safely — without turning it completely glassy or waterproof yet.
After this firing, the clay becomes something we call bisqueware — strong, but still porous (meaning it can absorb water). This porous quality is exactly what makes bisqueware so special. In fact, in some traditional farming and gardening practices, large unglazed clay vessels called ollas are buried in the soil and filled with water. Because of the clay’s porosity, water seeps slowly through the walls, keeping plants hydrated over time. This ancient technique, still used in some communities today, shows how functional and ingenious ceramics have always been!
Why Porosity Matters
That same porous nature of bisqueware is what makes it perfect for glazing later on. When you apply glaze — which is basically liquid glass — to a bisque-fired surface, the clay quickly absorbs the moisture from the glaze, allowing it to dry evenly and adhere beautifully. Depending on the technique, glaze can be brushed, poured, or the whole piece can even be dipped into it. (We’ll dive into glaze chemistry and firing in another post soon!)
Drying Your Work Before the Bisque
Before any piece ever reaches the kiln, though, patience is key. Clay must be completely bone dry before firing — this means every bit of water has evaporated from the clay body. If moisture remains trapped inside, it can turn to steam in the kiln and cause cracking or even explosions (and no one wants that!).
A good way to check dryness is by touch: if your piece feels cool, it still contains some moisture. Once it feels room temperature and chalky, it’s likely ready to go. It’s always best to let your work dry slowly and evenly — rushing the process can cause warping or cracks. If you’re in a humid area, you can use a small fan to help speed things up, but be cautious not to overdo it.
Loading the Kiln
Now comes the fun part — loading the bisque kiln!
Start by cleaning your kiln shelves. Any bits of glaze or debris can fuse during firing, damaging your shelves or your pieces. Once they’re clean, set four 1-inch posts on the kiln floor and carefully place your first shelf on top. From there, you’ll decide what height posts to use for each level, depending on the size of your pieces.
One of the best parts of bisque firing is that pieces can touch each other — unlike glaze firings, where melted glaze could fuse them together. You can stack, nestle, and make the most of your space. Just keep in mind that clay shrinks as it fires, so avoid placing anything inside another piece unless you’re sure it won’t get stuck.
Continue stacking shelves and loading pieces until you reach the top of the kiln. Don’t forget to add your pyrometric cones, which help measure the true heatwork inside the kiln. Then it’s time to close it up, set your firing program, and let the magic happen!
The Waiting Game
A bisque firing time periods can vary depending on studio to what one is firing. At the Artist Outpost ours usually take around 28 hours to complete, followed by a slow cooldown period that can last another day. It’s tempting to peek, but patience really pays off here — opening a hot kiln too soon can cause thermal shock and crack your hard work.
Once everything’s cooled, you’ll open the lid to reveal warm, chalky pieces that are ready for the next stage: glazing! Each one tells a story — fingerprints turned to stone, carved textures preserved forever.
Wrapping Up
There’s something deeply meditative about loading a kiln. It’s part science, part art, and part trust — trust in the clay, the fire, and the process itself. Every time I load a bisque firing here at The Artist Outpost, I’m reminded how each step, from shaping to firing, connects us to centuries of ceramic tradition.
Thanks for joining me for this behind-the-scenes look at one of our favorite studio rituals. Stay tuned for our next post, where we’ll dive into the glazing process and explore how those raw, earthy surfaces transform into glossy, colorful works of art.Until next time —
💛
— Corin, The Artist Outpost