Hey everyone, Corin here coming to you from The Artist Outpost in beautiful, sunny Ocean Beach, San Diego! Today, we’re getting ready to load our kiln for a glaze firing — one of the most exciting parts of the pottery process.
What’s a Glaze Firing?
If you’re new to ceramics, you might be wondering what that means. In short, glaze firings are when our pieces, coated in liquid glaze, transform into their final form. During the firing, the glaze melts into a thin layer of glass that not only makes the work food-safe but also adds stunning color, shine, and texture.
Here at The Artist Outpost, we mix many of our own glazes in-house using a combination of raw materials and oxides. Once fired, these ingredients undergo chemical reactions that result in beautiful, often surprising, colors and finishes. It’s truly a blend of art and science — and one of the most rewarding stages in ceramics.
Preparing to Load the Kiln
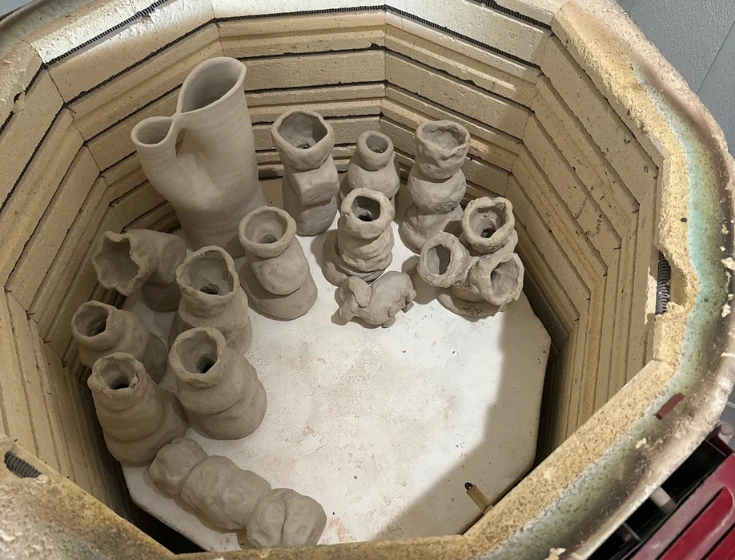
Before we start loading, it’s important that every piece is fully glazed and completely dry. A key rule for glaze firings: no glazed surfaces can touch each other. Once glaze melts, it fuses to anything it’s touching — whether that’s another pot, a kiln shelf, or even the post beside it.
That’s why glaze firings typically hold fewer pieces than bisque firings, where items can be stacked or placed closer together.
Step 1: Clean Shelves and Posts
Start by making sure your kiln shelves are clean and coated with kiln wash to protect against drips. Remove any leftover glaze chips so they don’t melt onto new work.
Next, choose your kiln posts based on the height of your pieces. Arrange them in a triangular formation — one of the strongest and most stable shapes. This helps support even stacking as you build upward layer by layer.
Step 2: Clean Every Piece
Using a damp sponge, carefully wipe the bottom of each piece to remove any stray glaze. Even a small amount can cause a piece to fuse to the kiln shelf, potentially damaging both. We recommend leaving at least ¼ inch of bare clay around the foot.
Some glazes are more fluid and tend to “run” when melted, so it’s important to know your materials. If you see thick or cracked glaze application, wipe off the excess before loading.
Step 3: Load the Kiln Carefully
As you begin loading, make sure each piece has enough space around it — no glazed surfaces should touch! Avoid letting glaze come into contact with posts as well.
Once your first shelf is full, insert pyrometric cones on the bottom level. These help confirm that your kiln is reaching the correct temperature (we fire to cone 6, around 2232°F). Place another set of cones on the top shelf for comparison — since heat rises, this helps ensure even firing and diagnose any temperature differences inside the kiln.
Step 4: Build Up and Balance
Place your next kiln shelf on top of the posts, aligning them directly above the ones below for stability. Then repeat the process — smaller items, plates, and other low pieces are great for middle layers.
Alternating different heights can improve airflow and heat distribution, resulting in more consistent glaze results throughout the kiln.
Step 5: Ventilation and Firing
After the kiln is fully loaded, double-check your cones and ensure everything is clean and stable. Close the lid, turn on the kiln vent, and prepare your firing program.
At The Artist Outpost, we use a Skutt KM-1027 — a reliable, medium-sized electric kiln. For glaze firings, we typically use the “Cone Fire” setting, with:
- Cone: 6
- Speed: Medium
- No preheat or hold
Once everything is set, we usually start the kiln at the end of the workday so it can run overnight. The vent underneath helps direct any fumes outdoors — essential since glaze firings involve chemical reactions that shouldn’t be inhaled over time.
Final Thoughts
Glaze firings take patience, care, and a little science, but they’re also one of the most magical parts of ceramics. Watching your finished pieces come out of the kiln — transformed, colorful, and full of character — never gets old.
Thanks for joining me behind the scenes here at The Artist Outpost! Stay tuned for more pottery tips, behind-the-scenes stories, and upcoming workshops.
See you in the studio,
– Corin